Why a Bent Hanger Fools You Into Chasing Other Problems
Derailleur diagnosis has turned into a moving target with all the conflicting advice flying around. Ghost shifting, bad indexing, a chain that won’t seat cleanly — most riders immediately reach for the barrel adjuster. That’s the wrong move. As someone who spent an entire evening chasing cable tension on a bike that shifted perfectly fine on paper, I dug into the practical details of misdiagnosed hangers. Today, I will share it all with you.
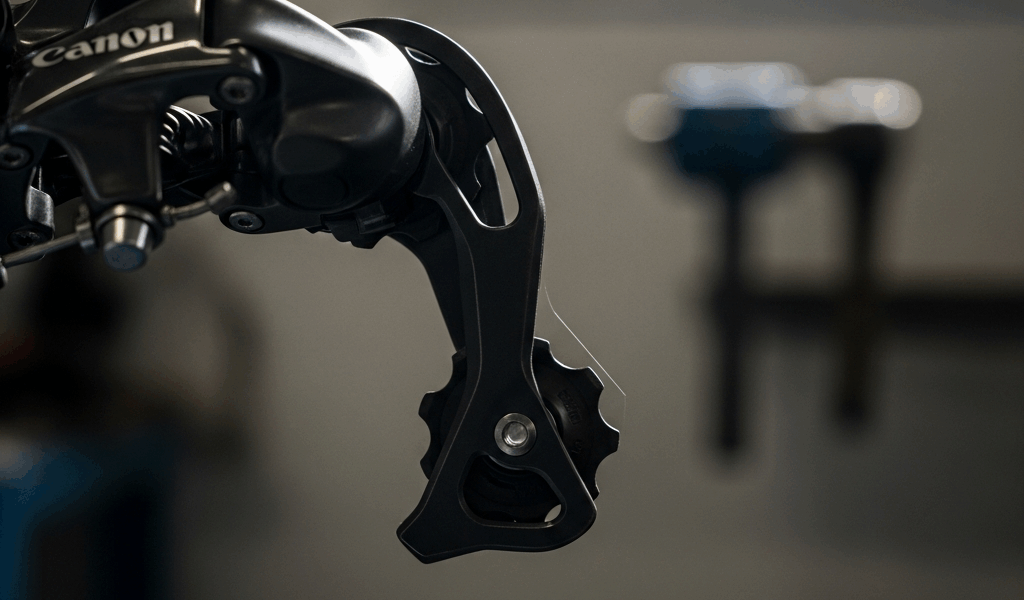
But what is a derailleur hanger? In essence, it’s a small metal tab — bolted to your frame — that holds the entire derailleur cage in position relative to your cassette. But it’s much more than that. It’s also a sacrificial component, engineered to absorb impact so your frame doesn’t. Mine bent maybe 2mm inward from a curb strike I genuinely don’t remember taking. Two millimeters. That was enough to wreck my shifting for three rides before I figured out what actually happened.
That’s what makes hanger damage so maddening to us home mechanics. The symptoms look identical to a dozen other problems. The cable tension reads fine. The limit screws haven’t moved. The derailleur itself is receiving the same mechanical input it always has. But the cage now sits in the wrong physical position relative to the cassette, so the chain never drops cleanly onto each cog. You’re not chasing a cable problem. You’re chasing geometry. Diagnosing the hanger first — before touching anything else — saves hours of frustration and keeps you from replacing expensive parts that were never broken.
How to Visually Inspect the Derailleur Hanger
Flip your bike upside down or hang it from a repair stand so you’re looking at the drivetrain from directly behind. That’s the only angle that matters here. A healthy hanger keeps the derailleur cage perfectly parallel to the wheel plane — aligned vertically above the cassette, no tilt, no drift.
Here’s the reference trick that actually works. Trace an imaginary vertical line down from the outer edge of the cage. That line should land just inside the outermost edge of your largest cog. If the cage has drifted inward toward the spokes, the hanger bent inward. If it’s kicked outward away from the wheel, it bent outward. Deviations of even 1mm will trash your indexing. Don’t underestimate small numbers here.
Next, spin the wheel slowly by hand while watching the cage. A bent hanger introduces a wobble — the cage sweeps side to side as the wheel rotates because the hanger itself is no longer true. A straight hanger keeps the cage stationary. This check costs nothing, requires zero tools, and takes under 30 seconds. Most serious bends are obvious immediately.
One more thing. Look closely around the bolt area where the hanger meets the frame. Stress marks, hairline cracks, visible discoloration — these tell you whether straightening is even worth attempting before you go further.
Using a Hanger Alignment Gauge for a Definitive Check
The piece that matters most here. A hanger alignment gauge is the tool that removes all ambiguity. It’s basically a dial indicator mounted on a rod that threads directly into the hanger bolt hole — the same hole your derailleur uses. The Park Tool HAG-1 runs about $60 and is what most shops reach for. There are cheaper versions around $35 that work fine for home use.
So, without further ado, let’s dive in. Thread the gauge into the hanger bolt hole. Spin the wheel slowly. The dial measures deviation as you rotate through four reference points — top, bottom, left, right. A properly aligned hanger shows almost no movement. Maybe 0.5mm. Anything past 1mm starts affecting indexing. Past 2mm and you’ll feel it immediately on every shift.
While you won’t need a full shop setup to do this, you will need a handful of reference measurements before making any decisions. Record all four dial positions. This data tells you not just that the hanger is bent, but how severely and in which direction — critical information when you’re deciding between straightening and replacing.
For home mechanics without gauge access, the visual method I described gets you most of the way there. But if you’re uncertain, or if you’re about to order a replacement hanger and want to confirm the diagnosis first, the gauge is worth borrowing from a shop or a riding friend.
Can You Straighten a Bent Hanger or Do You Replace It
Here’s the honest answer: sometimes yes, usually no. Aluminum hangers are designed to be sacrificial — they absorb impact so your frame dropout doesn’t. A small, clean bend with no visible cracking can sometimes be gently corrected using a hanger alignment tool, and the part will hold up fine afterward. Temporarily.
I’m apparently bad at knowing when to quit, and straightening-then-reusing worked for me once before it spectacularly didn’t. Two months after I straightened a hanger on my gravel bike — a Salsa Warbird, for the record — I hit a pothole at maybe 15mph. Nothing dramatic. The straightened hanger cracked clean through. I’m apparently unlucky enough to have lost a derailleur in a cassette once, and that experience never leaves you. Don’t repeat what I did.
Fatigued aluminum is more brittle than fresh aluminum. That’s just physics. Even a hanger that looks straight after correction has been stressed in ways the original metal wasn’t designed to handle twice. If you see any cracking, stress marks, or discoloration around the bend area — replacement is your only option. Full stop.
A new hanger runs $15 to $40 depending on your frame manufacturer. Installation takes maybe 10 minutes. That’s significantly cheaper insurance than finding out your hanger failed at mile 40 of a 100-mile ride. Replacement might be the best option, as frame integrity requires a hanger you can trust completely. That is because the consequences of hanger failure mid-ride aren’t just mechanical — they’re potentially dangerous.
Finding the Right Replacement Hanger for Your Bike
Derailleur hangers are not universal. Not even close. Trek hangers don’t fit Specialized frames. A 2020 Cannondale SuperSix hanger might not fit a 2022 SuperSix. The mounting bolt pattern, tab geometry, and thickness all vary — sometimes within the same brand across model years. First, you should confirm your exact frame model and year — at least if you want to avoid the experience of receiving the wrong part and waiting another five days for shipping.
The most reliable route is your frame manufacturer’s website. Search the model number directly. Alternatively, photograph your current hanger clearly — show the bolt pattern, the overall shape, both faces — and email it to the brand’s customer service. They’ll identify the correct part number in minutes. Most major brands keep hanger stock in-house or can point you to an authorized supplier.
Once you have the correct hanger, installation is genuinely straightforward. Remove the derailleur cable tension, unbolt the old hanger, bolt the new one on with a 5mm hex wrench, reinstall everything in reverse. Torque spec on most hangers is around 8–10Nm — don’t overtighten aluminum threads. Total time: maybe 15 minutes including a cup of coffee.
One last thing — and this is hard-earned advice. Carry a spare hanger on any ride longer than 50 miles. They’re flat, weigh almost nothing, and a bent hanger at mile 40 is infinitely worse than one you can swap in 20 minutes at the side of the road. Once the new hanger is installed and properly aligned, indexing typically snaps back without any cable or limit screw adjustment needed. That’s how you know the hanger was the real problem all along.

Stay in the loop
Get the latest pro bike tech updates delivered to your inbox.