Bike Chain Skipping When Pedaling Hard — Causes and Fixes
This article includes affiliate links. We may earn a commission at no extra cost to you.
Bike chain skipping has gotten messy with all the conflicting advice flying around. Replace the chain, someone says. Adjust your derailleur, says someone else. Buy a whole new drivetrain, says the guy at the shop who wants to sell you a whole new drivetrain. I’ve dealt with this exact problem on multiple bikes over the years — a 105 build, a gravel rig, a friend’s commuter that I somehow became responsible for — and what I learned is that the fix depends entirely on correctly identifying the cause first. Jump straight to buying parts and you might make things worse. I’ve done exactly that. Side-step the error I made.
Why Chains Skip Under Load — The Short Answer
The “under load” detail matters. A lot, actually.
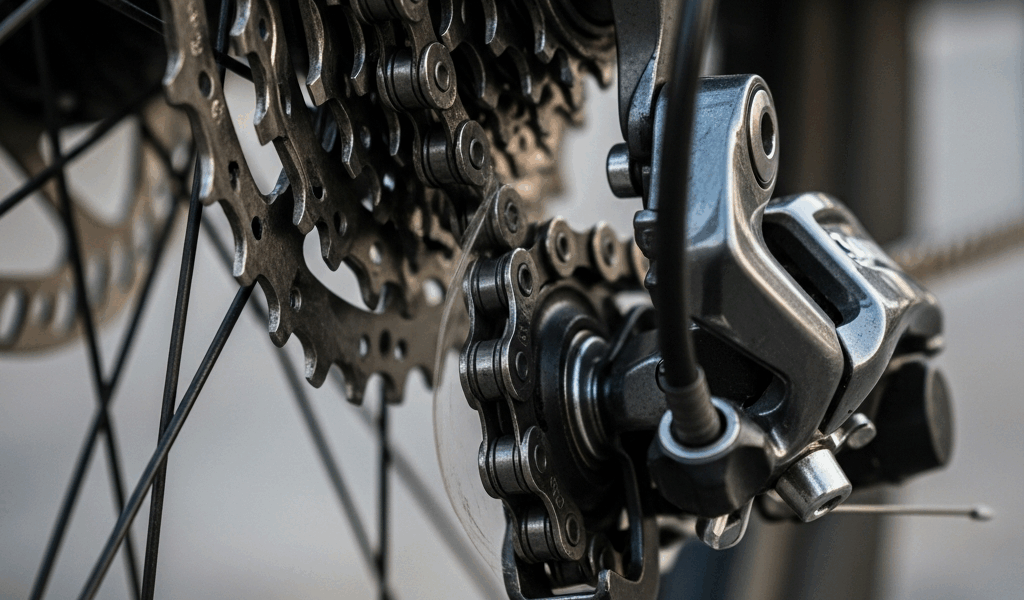
Skipping that happens specifically when you’re pushing hard — standing on a climb, accelerating out of a corner, grinding through a headwind — is a different beast from random skipping or skipping when you backpedal. Hard pedaling spikes chain tension dramatically. That tension exposes any mismatch between your chain’s pitch and the geometry of your sprocket teeth. The chain tries to seat, can’t find a clean bite, and hops forward over the top of a tooth. That lurch you feel? That’s it. And it usually happens in the same one or two gears — the ones you actually use for climbing, which are — not coincidentally — the most worn sprockets on the cassette.
Four main culprits, roughly ordered by how often I actually see them:
- New chain installed on a worn cassette
- Derailleur cable tension slightly off — chain riding between gears under load
- Bent derailleur hanger causing intermittent misalignment
- A chain that’s been ridden way too long, now stretched beyond what anything can tolerate
Check them in that order. Cheapest and fastest diagnosis first.
New Chain on Old Cassette — The Classic Mistake
Here’s the part worth saying first. This is the most common cause of hard-pedaling chain skip — and it trips people up because the logic seems backward. You just put on a brand new chain. How is the chain the problem?
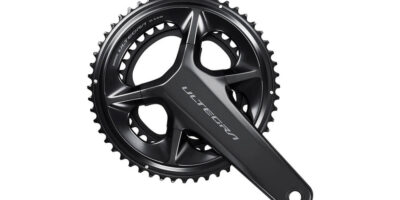
But what is chain wear, really? In essence, it’s the gradual erosion of the pins and rollers inside each link — not the chain getting longer, but the internal gaps widening so the effective pitch increases. But it’s much more than that. Because that worn chain, spinning on your cassette for months, slowly reshapes the teeth. They develop a hooked, shark-fin profile — asymmetrical, leaning in the direction of chain travel — that matches the worn chain’s pitch perfectly. Then you install a fresh Shimano CN-HG601 or a SRAM PC-1110 with its factory-correct 1/2-inch pitch and suddenly nothing fits. The teeth can’t hold the chain under load. Skip.
I learned this on a 105 groupset — paid for a full cassette replacement I could have avoided entirely if I’d just replaced the chain six weeks earlier. The rule I follow now: replace at 0.5% wear, every time, without exception. Do that consistently and a cassette survives two, maybe three chains. Miss a replacement, let things hit 0.75% or 1% stretch, and you’ve sacrificed the cassette. Ride a worn chain for a whole season — which plenty of people do — and the chainrings start to go too.
The two-chain rule is the practical shorthand: if you’ve run two full chains to wear without replacing them, assume the cassette is done. Swapping just the chain won’t fix the skip. You’ll end up buying the cassette anyway after a week of frustration, having wasted a new chain in the process.
How to Check if This Is Your Problem
Look at the teeth on your most-used sprockets — typically the 17t, 19t, or 21t depending on your riding. Healthy teeth are symmetrical, roughly rectangular at the tip. Worn teeth look like shark fins. You don’t need a special tool. You need decent light and about ten seconds of looking.
Hooked teeth plus a recently installed chain? That’s your answer. The cassette needs to go.
An 11-speed Shimano 105 CS-HG700 cassette runs around $45–$55. An SRAM PG-1130 is in the same range. Not cheap — but cheaper than replacing it twice because you kept ignoring the problem.
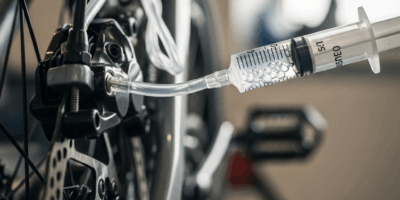
Derailleur Cable Tension — The 2-Minute Fix
Before you order anything at all, do this. Find the barrel adjuster on your rear derailleur — the cylindrical knob where the cable housing meets the derailleur body. Shift into the gear that’s skipping. Turn the barrel adjuster counterclockwise by exactly half a turn. Pedal. Better or worse?
Better — keep going in half-turn increments until the skip disappears. Worse immediately — go the other direction, clockwise, same increments.
Cable tension causes skipping for a completely different reason than cassette wear. When tension runs slightly low, the chain doesn’t seat fully in the intended sprocket under light pedaling — you might not notice because light pedaling limps through it just fine. Under hard pedaling, lateral load on the chain increases, and a chain that’s sitting 90% in the right gear slot gets pulled toward the adjacent sprocket. That’s the skip. Intermittent, load-dependent, frequently misdiagnosed as a cassette or chain problem.
Cables also drift naturally over time. New cables stretch during the first few rides — half a turn to a full turn of adjustment is completely normal. Cold weather compresses cables inside their housing. This is genuinely a two-minute fix that resolves probably 20–25% of skipping complaints, and it costs nothing.
Indexing the Whole Cassette
If half-turn adjustments help some gears but mess up others, the indexing is off systemically — the derailleur’s travel positions don’t line up cleanly with the sprockets anymore. This happens when cables stretch unevenly, when housing develops a kink, or after any work involving the rear wheel or derailleur.
Start by shifting to the smallest sprocket. Back the barrel adjuster all the way in — clockwise — then out two full turns. From there, shift through the cassette slowly, dialing in each click until gear changes are clean and immediate with no hesitation and no ghost-shifting. Takes about ten minutes on a stand. Park Tool has a solid reference for this, though the process is essentially the same regardless of brand.
Bent Derailleur Hanger — The Hidden Cause
Frustrated by a skip that didn’t respond to cable adjustments and wasn’t showing up in any gear with obvious cassette wear, I once spent two full weeks swapping parts — new cable, new housing, new jockey wheels — before a mechanic at my local shop spotted a bent hanger in roughly four seconds. Barely visible. Maybe two or three degrees of deflection. Just enough to throw off alignment under load without being obvious at a glance.
The derailleur hanger is the small replaceable aluminum piece connecting your rear derailleur to the frame dropout. It’s designed to be sacrificial — takes the hit so the frame doesn’t. Problem is, hangers bend from surprisingly minor incidents: a tip-over in the parking lot, a car rack that shifted in transit, a rock kicked up mid-descent. None of these feel significant. But even a small bend changes the derailleur’s angle relative to the cassette, and that’s enough.
How to Check the Hanger
The accurate method is a hanger alignment gauge — the Park Tool DAG-2.2 runs around $75, which is what shops use. It measures deviation from parallel at multiple points around the wheel. No gauge at home? A rough visual check works: look at the rear derailleur from directly behind the bike. The derailleur cage should run parallel to the cassette sprockets. If it’s canted — angled inward or outward at the top or bottom — the hanger is probably bent.
Replacement hangers are bike-specific and usually cost $10–$25. Search your frame manufacturer’s name plus “derailleur hanger” and it’ll come up. Worth keeping a spare in your kit bag — replacing one takes about sixty seconds with a 5mm hex key.
Some hangers can be straightened by a mechanic with an alignment gauge, but aluminum work-hardens and can crack during the process. If the bend is significant, replacement beats repair.
Chain and Cassette Wear Indicators — When to Replace
Measured across 12 links, a new chain runs exactly 12 inches from pin center to pin center. At 0.5% wear — the point I replace — that same 12 links measures 12 and 1/16 inches. Sounds tiny. It is tiny. But it’s enough to affect how the chain seats under hard acceleration, especially on teeth that have already started to shape themselves around a slightly different pitch.
The practical tool here is a chain checker. The Park Tool CC-3.2 costs about $13. Insert one end into a chain link — if the other end drops in at the 0.5 mark, replace the chain now. Drops in at 0.75, replace the chain and inspect the cassette carefully. Drops in at 1.0, replace both the chain and cassette together. No discussion needed at that point.
Check chain wear with a Park Tool CC-2 chain checker every 300–500 miles depending on conditions. Wet, gritty riding accelerates wear dramatically — a chain that lasts 2,000 miles on dry California roads might be finished after 800 miles of Pacific Northwest winter commuting. I keep a simple note in my phone: date, odometer reading, stretch measurement. Takes thirty seconds after each check.
Visual Cassette Wear Beyond the Shark-Fin Test
Beyond tooth shape, watch for these signs that a cassette is genuinely worn out:
- Teeth that look thin or needle-like at the tips — not just hooked, but noticeably narrower than adjacent sprockets
- Skipping that consistently happens in the same 2–3 gears you use most, while the rest of the cassette feels fine — those specific sprockets are worn unevenly
- A new chain that skips immediately after installation despite correct cable tension — worn cassette, full stop
- Visible asymmetry between drive-side and non-drive-side tooth faces under close inspection
One thing worth saying directly: if the cassette is worn, replacing only the cassette without replacing the chain is just as much of a mistake as the reverse. A worn chain on a new cassette accelerates cassette wear dramatically. When you replace one, replace the other. Every single time.
The Replacement Logic, Summarized
- Chain at 0.5% — replace chain, keep cassette
- Chain at 0.75% — replace chain, inspect cassette teeth carefully
- Chain at 1.0%, or two chains ridden to wear without replacement — replace both chain and cassette together
- New chain installed and skipping immediately — cassette was already worn when you put that chain on, replace it now
That’s what makes the diagnosis-first approach endearing to us riders who don’t want to spend money twice. Most skipping problems are either a cable tension issue you can fix in two minutes with your fingers, or a worn cassette situation that no amount of cable adjustment will ever resolve. Figuring out which one you’re actually dealing with — that’s the whole job. Everything after that is just the fix.

Stay in the loop
Get the latest pro bike tech updates delivered to your inbox.