Why Dropper Posts Stop Returning and What to Check First
Dropper posts have turned into a moving target with all the finger-pointing flying around — “it’s the cable,” “it’s the air,” “you just need a new one.” I’ve been wrenching on bikes since before dropper posts were even a thing people argued about, and after watching my own KS Lev go completely limp mid-descent on a trail outside Bend, Oregon, I spent real time learning the ins and outs of this particular problem. Today, I will share it all with you.
Three things kill dropper return. Air pressure bleeds down. Cable tension drifts. Internal cartridges die. That’s the whole list. The first two you can probably fix in your garage tonight. The third one requires a decision — rebuild or replace. But before any of that, you need to match your symptom to the actual cause, because throwing solutions at the wrong problem is how you waste $40 and a Saturday afternoon.
Mushy, slow return that creeps upward? Air pressure. Post that won’t drop fully, or activates weird and sticky? Cable tension is off, or your housing has a crimp somewhere. Zero return — like genuinely nothing happening, no spring resistance at all? That’s a dead cartridge. Know which one you’re dealing with, and the rest of this gets a lot simpler.
Fix 1 — Check and Adjust Air Pressure in the Post
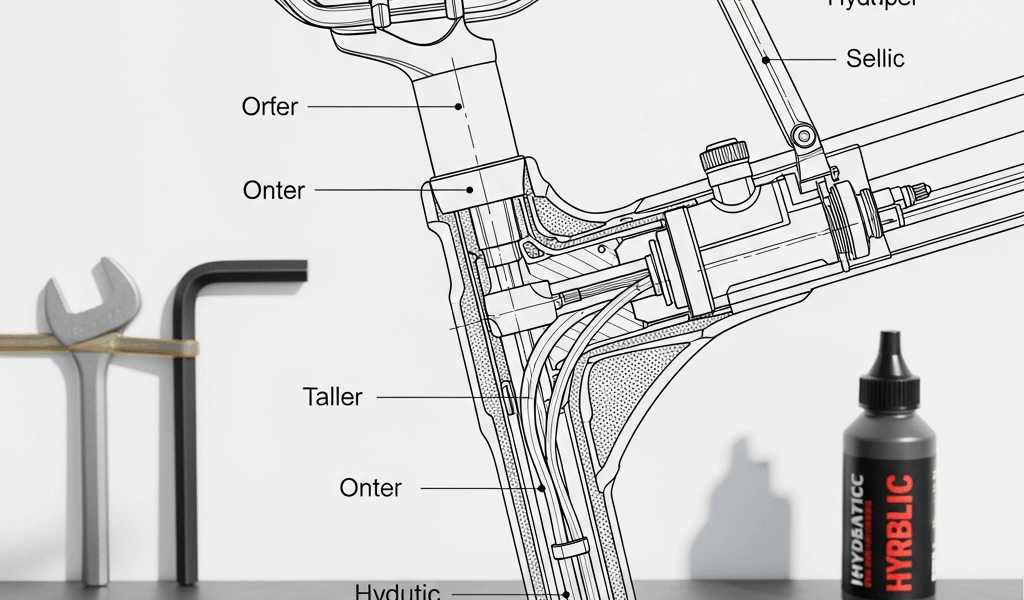
Most dropper posts are air-sprung. A sealed chamber inside holds pressurized air, and that air pushes the stanchion back up when you release the lever. That pressure leaks. Slowly, sure — but it leaks. Ride hard enough and skip maintenance long enough, and you’ll lose 30–40 PSI without noticing until the post feels like it’s moving through cold honey.
You need a shock pump. The same one you use for your fork or rear shock — a standard Topeak or Park Tool unit works fine. Unscrew the pump head from the body and attach it directly to your dropper’s air valve. That valve lives at the top of the post, usually marked with a small stamped circle or dot. Push the head on firmly. It’ll seat with a little resistance, maybe a soft click.
Check the reading. Most posts want somewhere between 150 and 250 PSI depending on your weight and the specific model. If you’re around 180 pounds, you’re probably targeting 200 PSI. Around 150 pounds, maybe 170. Too little pressure and return gets lazy. Too much and the post feels twitchy — almost violent coming back up, like it’s trying to launch you off the saddle.
Add air in small increments. Ten PSI at a time. Disconnect the pump head, press the lever, feel the return, then reconnect and add more if needed. Spare yourself the wrong turn I took — I once dumped 35 PSI in at once on a Brand-X post, hit 260 PSI, and the return felt like a pogo stick for three rides until it bled back down.
One exception worth knowing: RockShox Reverb Stealth units don’t have an accessible air valve. There’s nothing to pump. If that’s your post, skip straight to Fix 3 — these require a bleed process involving cartridge removal, and that’s a different job entirely.
Fix 2 — Adjust Cable Tension and Check for Housing Damage
Cable tension is what connects your thumb to the post’s internal mechanism. But what is cable tension, really? In essence, it’s the amount of pull your cable exerts on the valve when you squeeze the lever. But it’s much more than that — it’s also the difference between a crisp, snappy post and one that feels like it’s arguing with you every time you reach for the lever.
Find the barrel adjuster on your remote lever or at the post collar — location varies by model, so check yours specifically. The Shimano-style remotes tend to put it right at the lever clamp. TRP and Wolf Tooth units sometimes put it lower. Turning the adjuster clockwise tightens cable tension. Counterclockwise loosens it. Quarter turns only.
If your post returns slowly despite good air pressure, loosen the barrel adjuster a quarter turn first. Press the lever. Feel the difference. Smoother? Good. If loosening made things worse — lever feels disconnected, post starts drifting — go back a quarter turn the other direction. You’re looking for the point where the lever feels light and responsive and the post snaps back cleanly without hesitation.
Now walk the entire cable housing run. Start at the lever, follow the cable to where it enters your frame, trace it around the head tube, around the bottom bracket area — anywhere it bends. Kinks and crimps in the housing create friction that ruins everything downstream. A single sharp bend near the chainstay can add enough drag to make an otherwise healthy post feel broken. New housing runs $10–15 at most shops. That’s probably the best option, as dropper performance requires clean, unobstructed cable movement. That is because even minor friction compounds through the entire system and the post valve never fully releases.
For internally routed setups — harder, but not impossible. Disconnect the cable at the post’s upper collar and pull it manually with your fingers while watching the post move. It should descend smoothly, no catches. Feel any sticking at all? Could be kinked housing, could be dried cable lube turned to paste inside. Pull the cable fully out and shine a flashlight down the housing. You’ll know immediately if something’s wrong.
Fix 3 — When the Internal Cartridge Is the Problem
Worth putting near the top. If air pressure is correct, cable tension is correct, and the post still won’t return — the internal cartridge is gone. The valve assembly inside has given up. This is not fixable with a barrel adjuster.
What you do next depends entirely on which post you own.
KS, Brand-X, and several other brands sell user-serviceable rebuild kits — usually $15–30 online, sometimes less. These kits include new seals, sometimes a replacement spring. You pull the cartridge out using an internal hex wrench, swap in the new components, reassemble. Thirty minutes, maybe forty if this is your first time. I’ve done three of these on a KS LEV Ci and it’s honestly less intimidating than it sounds.
RockShox Reverb — the original, not the AXS — is a different story. No user-serviceable cartridge. A replacement cartridge runs $60–100 depending on where you find one, and installation means pulling the post off the bike entirely, clamping it properly in a vise with the right protective jaws, and doing the job without cross-threading anything. Most people take it to a shop. Add $30–50 in labor. That’s what makes the Reverb frustrating to its owners — the post itself is solid, but servicing it costs real money every time.
At some point the math gets personal. Cartridge plus shop labor is $90–150 for a Reverb. A brand-new mid-range dropper — a PNW Cascade 150mm or a OneUp V3 — starts around $175. If your post is five years old and you’ve ridden it hard, that math starts looking obvious. Two years old with a clean stanchion? Rebuild kit, no question.
Preventive Maintenance to Keep Your Dropper Working
Most dropper failures come from neglect. Not bad luck, not defective parts. Neglect. Two habits prevent probably 80% of the issues described above.
First, you should wipe the stanchion after muddy rides — at least if you want the seals to last longer than two seasons. A clean rag takes fifteen seconds. Every month or two, put a light coat of silicone-based dropper lube on the exposed stanchion rod. Maxima Clean Drop works. RockShox Dynamic Seal Grease works. Do not use chain lube. Do not use WD-40. I’m apparently someone who learned this the wrong way, and RockShox-specific lube works for me while WD-40 never did anything except dry out my seals faster and attract grit.
Second: check air pressure every three to four months. Set a calendar reminder if you have to. That’s what makes this habit so endearing to us riders who actually do it — it takes four minutes and prevents the exact sluggish return problem that sends everyone online looking for answers at 10pm before a morning ride.
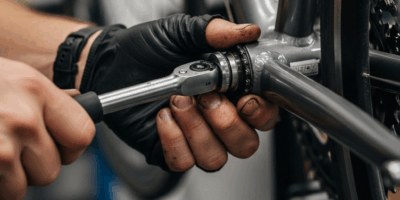
Beyond that, know your limits. Pressure work and cable adjustment are genuinely DIY-friendly. Internal cartridge rebuilds on user-serviceable posts are manageable with patience and a YouTube video. Deep stanchion scoring, cracked seals, or anything involving the post body itself — take it to a shop. The right tools matter more than confidence does. Skip the misstep I made of assuming otherwise.


Stay in the loop
Get the latest pro bike tech updates delivered to your inbox.