“`html
Why One Brake Pad Wears Faster Than the Other
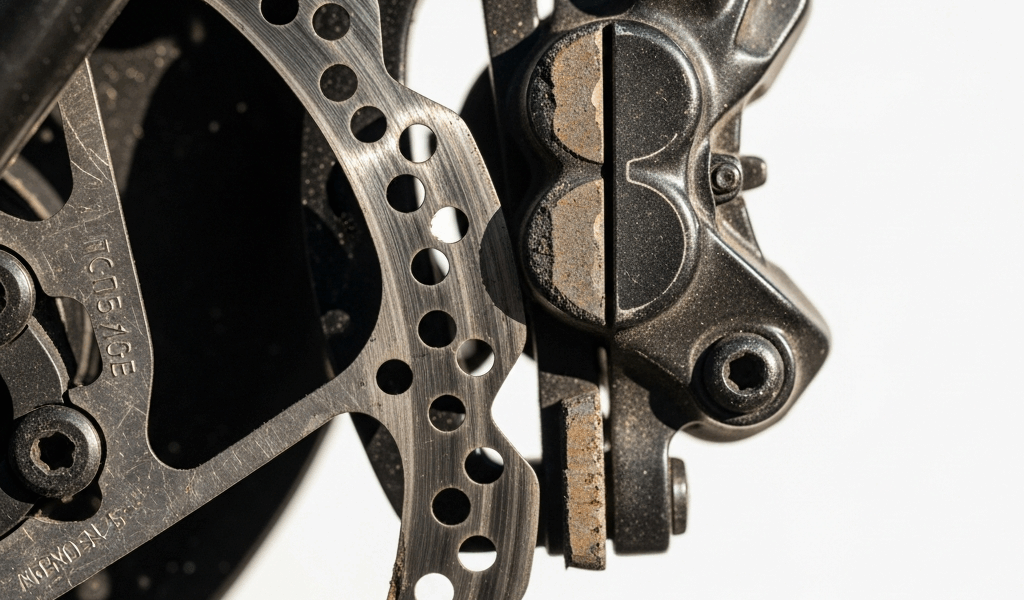
I spent an entire weekend convinced my bike’s braking system was dying. One pad had worn down to a sliver—maybe 1.5mm thick—while its partner on the opposite side still had solid meat on it. Five hundred miles into a set of pads, and I was looking at replacement already. That shouldn’t happen with quality brake compound.
Here’s what I discovered: uneven brake pad wear between left and right sides isn’t a defect in the pads themselves. It’s almost always a mechanical alignment problem hiding somewhere in your braking system. The culprit is usually one of four issues working alone or in combination—caliper mounting misalignment, rotor runout or warping, differences in pad compound hardness, or pressure imbalance in hydraulic or mechanical cable systems.
When a caliper sits even slightly off-center—say, 1-2mm to one side—the inner pad contacts the rotor while the outer pad floats uselessly. As you brake, only one pad does the work. Over time, that pad glazes from overuse while the other stays pristine. Then there’s the rotor itself. A warped rotor rocks side-to-side as the wheel spins, keeping consistent pressure on one pad while the other barely touches. Finally, hydraulic systems with unequal pressure between wheel circuits, or mechanical systems with uneven cable tension, will favor one pad over the other during every braking event.
The good news? This is fixable without professional help in most cases.
How to Check for Caliper Alignment Issues
Probably should have opened with this section, honestly. Most riders ignore alignment because it feels invisible. You can’t see misalignment the way you see a bent rim.
Start with a visual inspection. Spin the wheel freely—no brakes engaged—and watch the gap between each pad and the rotor. A properly aligned caliper has equal clearance on both sides. If one side has a visible gap while the other nearly touches, your caliper is offset. This is the single easiest diagnosis you can make.
Next, the business card test. Grab a standard credit card or business card (both are roughly 0.76mm thick). With the wheel spinning freely, carefully slide the card between the rotor and each pad separately. The card should slide through with light resistance on both sides. If it slides through on one side but gets pinched on the other, you’ve found your culprit.
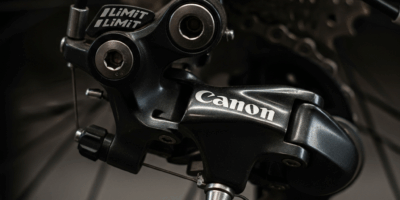
For mechanical disc brakes, look at the cable routing. A cable that takes a sharp angle or rubs on a frame tube can pull the caliper sideways under braking. Straighten the routing if needed. For hydraulic systems, this test won’t tell you about pressure imbalance, but it will immediately show you alignment drift.
Spin the wheel under light braking—just enough to hear the pads touch the rotor. A properly aligned caliper will have both pads make contact simultaneously. If you hear one side engage before the other, or only hear one side at all, you’re dealing with offset. Grab a marker and mark the spot on the rotor where contact begins. Spin again. The mark should appear consistently at the same point on the wheel rotation.
Test Your Rotor for Trueness and Runout
A rotor that wobbles side-to-side—lateral runout—will make one pad wear faster than the other. A rotor that rocks front-to-back, radial runout, affects braking power but won’t cause uneven pad wear.
To check lateral runout, you need to see the rotor move relative to the caliper. Spin the wheel freely and watch the rotor edge as it passes near the caliper. It should track in a straight line. Any side-to-side wobble—even slight—is runout. A marker trick works here too. Hold a permanent marker near the rotor edge while the wheel spins. The mark will show you where the rotor deviates from center.
Measured runout under 0.5mm is usually acceptable and won’t cause noticeable pad wear issues. Between 0.5mm and 1.5mm, you’ll see uneven wear but the rotor can sometimes be trued with a rotor truing tool (costs $15-40). Above 1.5mm, the rotor is done. Replacement is the only sensible option. Most rotors run $40-120 depending on brand and size.
A warped rotor fails differently than an offset caliper. Both pads will show wear, but one side wears much faster because the rotor rocks away from it periodically during each rotation. The pad that stays pressed against the high spot gets consistent friction. The other pad works intermittently. Over 500-1000 miles, the difference becomes dramatic.
Spin the rotor slowly while watching the entire surface. Any visible bending, cracking, or uneven glaze pattern confirms damage. Glazed areas look shiny and flat, like they’ve been polished smooth. That’s wear, and it indicates one pad has been doing most of the work.
Fix Uneven Brake Pad Wear in 5 Minutes
For caliper misalignment, grab a 2-3mm Allen key and locate the two bolts that mount the caliper to the frame or fork. These are usually easy to access. Loosen both bolts until the caliper can move side-to-side. Don’t remove them completely—just loosen enough for play.
Spin the wheel freely and center the rotor between the pads by eye. Tighten the top bolt first, then the bottom. Work slowly. Half-turns matter here. Check alignment after every quarter-turn by spinning the wheel and watching the gaps.
Once centered, spin the wheel under light braking again. Both pads should engage simultaneously. If not, loosen the bolts again and make micro-adjustments. This process takes longer than five minutes your first time, but the technique becomes automatic.
For hydraulic brakes showing pressure imbalance — one pad stays pressed against the rotor even when not braking, or one side feels significantly softer — the fix is a system bleed. Air in the lines creates unequal pressure. A bleed kit costs $20-50 and takes 30 minutes. YouTube has solid tutorials for your specific brake model.
For mechanical brakes, check cable tension at the brake lever. Pull the lever slowly. It should feel consistent and smooth. If it’s soft on one side, tighten that cable’s barrel adjuster (the threaded piece where the cable enters the lever body). Turn the barrel adjuster counterclockwise a quarter-turn at a time. Test after each adjustment. Cable tension should match both directions.
When to Replace vs. Realign Your Brakes
Here’s the decision tree I use: Start by checking pad thickness. If either pad measures below 1mm, replace the full set. Mixing old and new pads guarantees uneven wear because compounds have different hardness values. A fresh set from reputable brands costs $25-60 for mechanical, $40-120 for hydraulic.
If pads still have meat on them but wear is clearly uneven, perform the alignment test. Realign the caliper first. Then ride for 100-200 miles and inspect again. If wear becomes even, alignment was the problem and you’re done. If uneven wear continues, the rotor is likely warped.
Check rotor runout with the method above. Runout under 0.5mm? Proceed with alignment and new pads. Between 0.5-1.5mm? You have two options: true the rotor with a tool (if you have one) or replace it. Above 1.5mm, replace immediately. Worn rotors lose braking power and can fail suddenly.
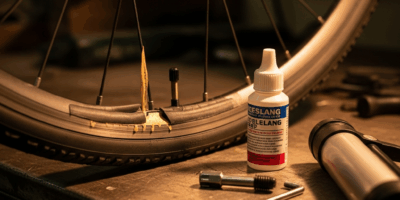
Prevention beats diagnosis every time. Inspect brake alignment every 500 miles—takes two minutes. Keep rotors clean. Avoid riding through deep water that can warp them or cause hydraulic issues. Check cable routing on mechanical brakes to ensure nothing’s pinching or bending the lines.
Uneven pad wear feels like a system failure. In reality, it’s just your brakes telling you something’s misaligned. Fix the alignment, monitor wear, and you’ll get 1000+ miles from the next set of pads.
“`

Stay in the loop
Get the latest pro bike tech updates delivered to your inbox.